We know there’s always a chance of a desktop computer’s keyboard breaking, but it’s shocking how often it happens when we need it the most. We don’t always have a replacement handy and can’t necessarily go out to buy one. So, what are the chances you can use your laptop’s keyboard on a desktop PC? There are a few ways to do that, but what are the best ways?
The best ways to use a laptop keyboard on a desktop computer involve using remote access software, software solutions that share input devices across computers, or taking advantage of specialized laptops with detachable keyboards that can pair with other devices via Bluetooth. These methods cater to different preferences and situations, allowing you to find the most suitable option for your specific needs.
It’s not always easy to decide which software will work best for using your laptop’s keyboard on a desktop PC since they all have pros and cons. But let’s go through the options; then you can decide which is best for you.
Method 1: Use Remote Access Software Between The Laptop And Desktop
The first option is to use remote access software. You already have some built into your operating system since Windows, macOS, and Linux all come with it. Those options are challenging to configure, which is why many people prefer installing alternatives.
The two most popular options are TeamViewer and AnyDesk. You can download them free of charge, as long as you don’t use them for commercial purposes.
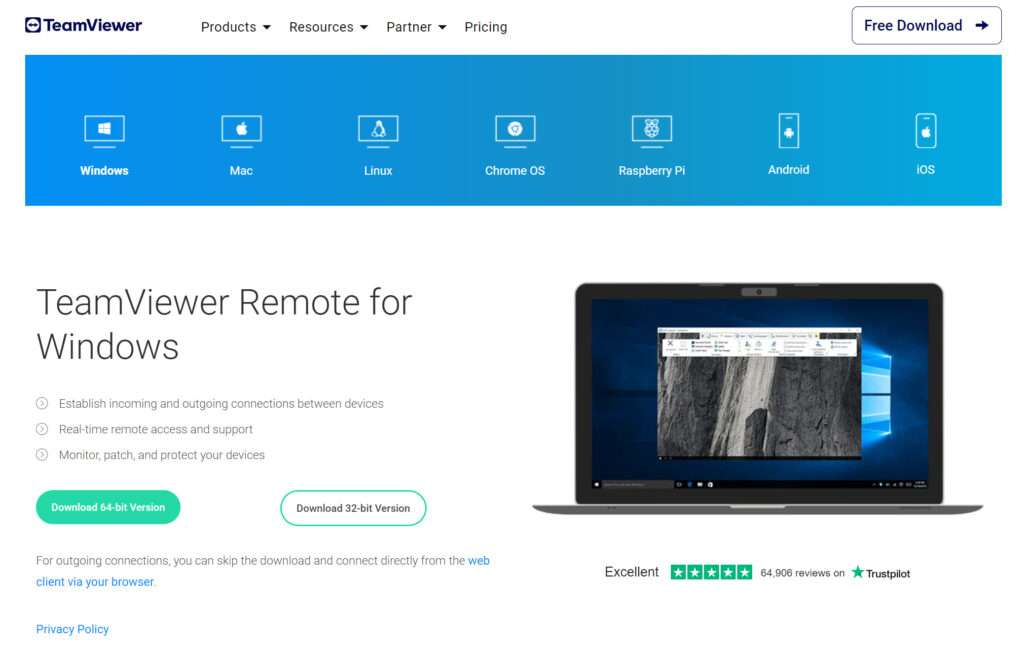
The downside is that both of these options use internet connections, which will cause a bit of an input delay. It’s usually not the end of the world if you just need access to the desktop for a few minutes, but you won’t be able to do anything intensive like playing games, for example.
Method 2: Using software solutions
There are several software options that enable you to use your laptop’s keyboard and mouse with your desktop computer. Below are four popular choices, along with their respective advantages and disadvantages:

Pros:
- Developed by Microsoft, ensuring good compatibility with Windows operating systems.
- Simple setup and user-friendly interface.
- Supports up to four computers.
- Free to use.
Cons:
- Only compatible with Windows, not available for Mac or Linux.
- Lacks advanced features like clipboard sharing and drag-and-drop file transfer.
2. ShareMouse
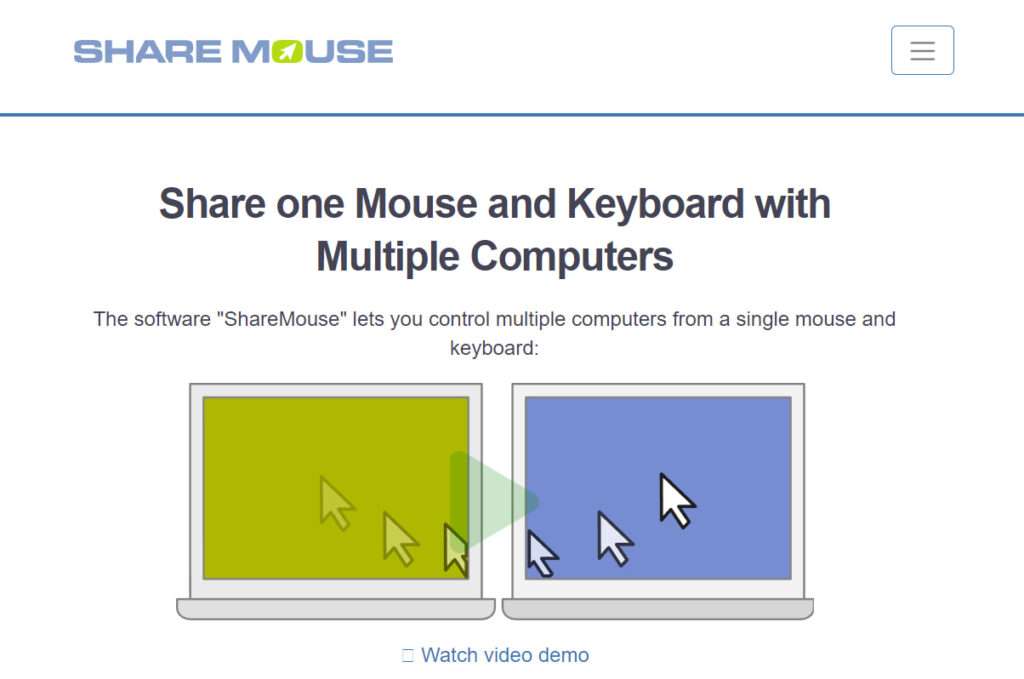
Pros:
- Cross-platform compatibility with Windows and macOS.
- Supports clipboard sharing and drag-and-drop file transfer.
- Monitors can be arranged in a grid or freeform layout.
- Free for personal use (up to 2 computers).
Cons:
- Advanced features require a paid license.
- Not available for Linux operating systems.
- Some users may find the configuration process less intuitive.
3. Barrier
Pros:
- Open-source and free to use.
- Cross-platform compatibility with Windows, macOS, and Linux.
- Supports clipboard sharing and customizable hotkeys.
- Active community support and updates.
Cons:
- No built-in file transfer feature.
- Less polished user interface compared to some commercial alternatives.
- Setup and configuration may be more challenging for non-technical users.
4. Synergy
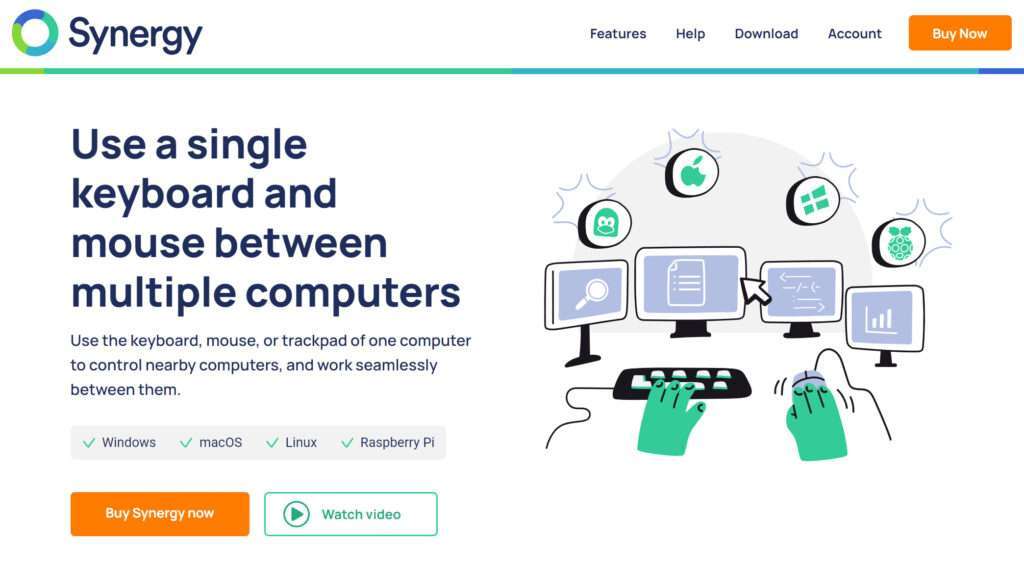
Pros:
- Cross-platform compatibility with Windows, macOS, and Linux.
- Supports clipboard sharing, drag-and-drop file transfer, and customizable hotkeys.
- Encryption for secure data transfer.
- Active development and support.
Cons:
- Requires a paid license for full functionality.
- Some users may experience occasional connectivity issues.
- Setup and configuration can be more complex than other solutions.
Each software solution offers unique advantages and disadvantages, and your choice should depend on factors such as compatibility, features, and budget. Be sure to evaluate each option based on your specific needs and preferences.
Method 3: Using Detachable Laptop Keyboards with Desktop Computers
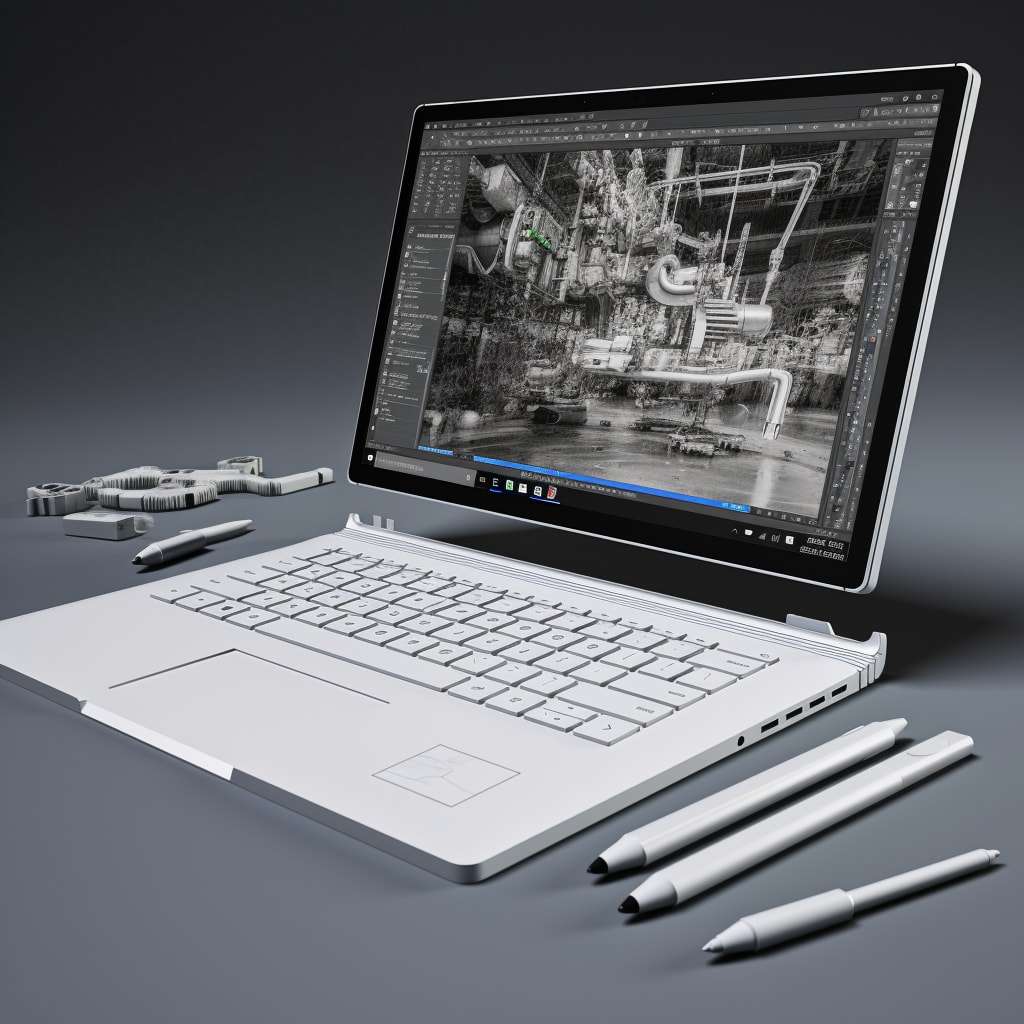
Some laptop models, such as the Microsoft Surface Book, HP Spectre x360, and Lenovo Yoga, feature detachable keyboards that can be paired with other devices via Bluetooth. This versatility allows you to use the laptop’s keyboard as a wireless keyboard for your desktop computer. Below is a step-by-step guide on how to connect a detachable laptop keyboard to a desktop computer:
- Prepare the detachable keyboard: Remove the keyboard from the laptop, ensuring it is charged and switched on.
- Enable Bluetooth on the desktop computer: Access your desktop computer’s Bluetooth settings and make sure Bluetooth is turned on.
- Set the keyboard to pairing mode: Follow the manufacturer’s instructions to activate the keyboard’s Bluetooth pairing mode. This process may differ depending on the specific laptop model.
- Pair the devices: On your desktop computer, locate the detachable keyboard in the list of available Bluetooth devices. Click on the keyboard’s name to initiate the pairing process.
- Complete the connection: Follow any on-screen instructions provided by your desktop computer to finalize the pairing process. Once the devices are successfully paired, your laptop’s detachable keyboard should function as a wireless keyboard for your desktop computer.
Keep in mind that this method is only applicable to laptops with detachable keyboard functionality and may be limited by Bluetooth compatibility between the keyboard and desktop computer. Additionally, the availability of certain features, such as function keys or touchpads, may vary depending on the specific keyboard model and desktop computer.
You may also like: Why Laptops Don’t Have Touchpad Buttons Anymore?
Method 4: Harnessing a Wired Connection Between Your Laptop and Desktop
Sometimes, the circumstances may call for a solution that doesn’t rely on an internet connection. Enter the world of wired connections. This method might require some additional hardware, such as a USB converter, but it provides a reliable, stable connection that won’t falter even when your Wi-Fi does.
Step 1: Gather Your Tools
Before you start, make sure you have the right equipment:
- Your laptop and desktop computers.
- A USB converter or an adapter.
You can find a variety of USB converters online or at your local tech store. Make sure to choose one that is compatible with both your laptop and desktop.
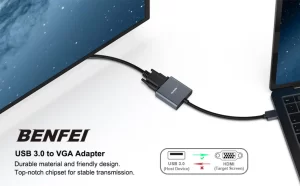
Here’s an example of a place where you can purchase USB converters.
Step 2: Set Up the Connection
Once you have the necessary equipment, it’s time to connect your devices. Follow these steps:
- Plug one end of the USB converter into your laptop.
- Connect the other end of the converter to your desktop.
Now, your laptop and desktop should be physically linked.
Step 3: Configure Your Settings
With the physical connection established, you’ll need to configure your desktop settings to recognize the laptop keyboard as an input device. This process might vary depending on your operating system.
Step 4: Test Your Setup
After everything is connected and configured, test the setup by trying to use your laptop keyboard to control your desktop. If you can type on your desktop using your laptop keyboard, congratulations! You’ve successfully set up a wired connection.
Remember, this method does not typically support the use of the laptop’s touchpad as a mouse on the desktop. If you need mouse functionality, you may need to connect a separate mouse to your desktop.
Using a wired connection to use your laptop keyboard on a desktop can be a fantastic solution for those who need a reliable, internet-free setup. Whether you’re in a location with poor Wi-Fi or you’re just looking for a more stable connection, this method provides a reliable and effective solution.
Conclusion
It can be frustrating when your keyboard breaks while you rush to finish an assignment or finalize a quote. Thankfully, many people face the same challenges every day, and some are clever enough to develop software that can help, such as using laptop keyboard for desktop solutions. But it’s best to install it now, even if your keyboard is still working; that way, you know it’s ready when you need it.
References:
- “Mouse without Borders: free control for up to 4 computers” From ProVideo Coalition
- “Mouse Without Borders Setup/User Guide, Tips, Tricks and FAQs” From Microsoft
Frequently Asked Questions
Can I Use My Laptop as a USB Keyboard?
Yes, it’s possible to use your laptop as a USB keyboard, although it’s not a common practice and requires third-party software. An application like “Synergy” allows for sharing a mouse and keyboard between multiple computers. Essentially, you install the application on both machines, and you can control both from one keyboard and mouse. Remember, this does not physically change your laptop into a USB keyboard, but rather allows you to control another device using your laptop’s keyboard.
How Can I Use My Desktop Without a Keyboard?
You can use your desktop without a physical keyboard by employing the on-screen keyboard functionality present in most modern operating systems. On Windows, for example, you can access this feature by navigating to “Ease of Access” in your system settings and selecting “On-Screen Keyboard”. This digital keyboard will appear on your screen, and you can use your mouse or touch screen (if available) to input data. It’s not as fast as a regular keyboard, but it works well for limited use.
Can Any Keyboard Work with Any Computer?
Generally, most wired and wireless keyboards will work with any computer as long as the computer has the appropriate port (usually USB for wired keyboards) or Bluetooth capability (for wireless keyboards). Keyboards use a standard interface, and operating systems come preloaded with drivers for these standard devices. However, some features like hotkeys or backlighting might only work if the keyboard’s specific software is installed. Always check the keyboard’s compatibility specifications before purchase. For older keyboards with PS/2 connectors, you might need an adapter to use them with newer computers that only have USB ports.
You may also like: Can You Use A Laptop Motherboard In A Desktop PC?